
The Art of Time:
A Guide to Slow Shutter Speed Photography
Photography is the art of capturing a single moment. But what if you could capture the flow of time itself within a single frame? Slow shutter speed photography is a transformative technique that allows you to do just that. It’s about bending time, turning fleeting movements into deliberate, artistic statements.
Though this style is an acquired taste, it can be used creatively and sparsely within your client gallery to portray emotion within movement, do not use this style for most of your gallery, i would suggest 5/10 images out of 275 within a wedding gallery.
This guide will explore two key approaches to this creative method: the dynamic energy of Shutter Drag with a flash, and the ethereal elegance of capturing pure motion blur without one.
Technique 1: Shutter Drag for Dynamic Portraits
Shutter drag is a sophisticated technique used to create images that pulse with energy. By combining a slow shutter speed with a burst of flash, you can render your subject in sharp detail while painting the background with ambient light and motion. The result is a striking juxtaposition of stillness and fluidity, perfect for capturing the vibrant atmosphere of events, concerts, or dynamic studio portraits.
This guide will explore two key approaches to this creative method: the dynamic energy of Shutter Drag with a flash, and the ethereal elegance of capturing pure motion blur without one.
The principle behind shutter drag is a dual-exposure within a single frame. The slow shutter speed exposes for the ambient light in the scene, recording any movement as creative blurs and streaks of light. The flash then fires for a fraction of a second, freezing your subject with crisp clarity. It’s a dance between two different light sources and two different moments in time.
Essential Equipment
- A camera with full manual control: Precision is key, so direct control over your core settings is paramount.
- An external flash (Speedlight) or studio strobe: An on-camera or off-camera flash provides the necessary burst of light to freeze your subject.
Crafting the Shot: Recommended Settings
Your settings will always be subject to the specific environment, but the following provides a professional starting point.
- Mode: Manual (M) is essential for independent control over all elements.
- Shutter Speed: This is your primary creative control for the motion effect. A range between 1/30s and 2 seconds is typical. A shutter speed of 1/15s is an excellent starting point for capturing the energy of a dance floor, while a longer 1-second exposure might be used for a more dramatic sweep of background lights.
- Aperture: Your aperture governs the exposure of the flash on your subject. Begin with an aperture between f/8 and f/16. This narrower aperture provides a greater depth of field and helps control the powerful burst of light from your flash, preventing overexposure.
- ISO: Maintain a low ISO, ideally ISO 100 or 200, to ensure maximum image quality and dynamic range.
- Flash Setting – Rear Curtain Sync: In your camera’s flash menu, select “Rear Curtain Sync” (or “2nd Curtain Sync”). This setting commands the flash to fire at the end of the exposure. Consequently, the motion trails appear to streak behind your subject, resulting in a far more logical and visually pleasing effect.
- Flash Power: While TTL can be effective, manual flash power offers more consistent control. Start at 1/16th power and adjust based on the distance to your subject and your chosen aperture.
Execution and Creative Input
With your settings dialed in, the final element is your own movement. As you press the shutter release, physically move the camera. This can be a smooth pan, a sharp zoom, or a slight rotation. Each movement will create a distinct visual signature. Review and refine until the balance between ambient blur and the frozen subject aligns with your artistic vision.
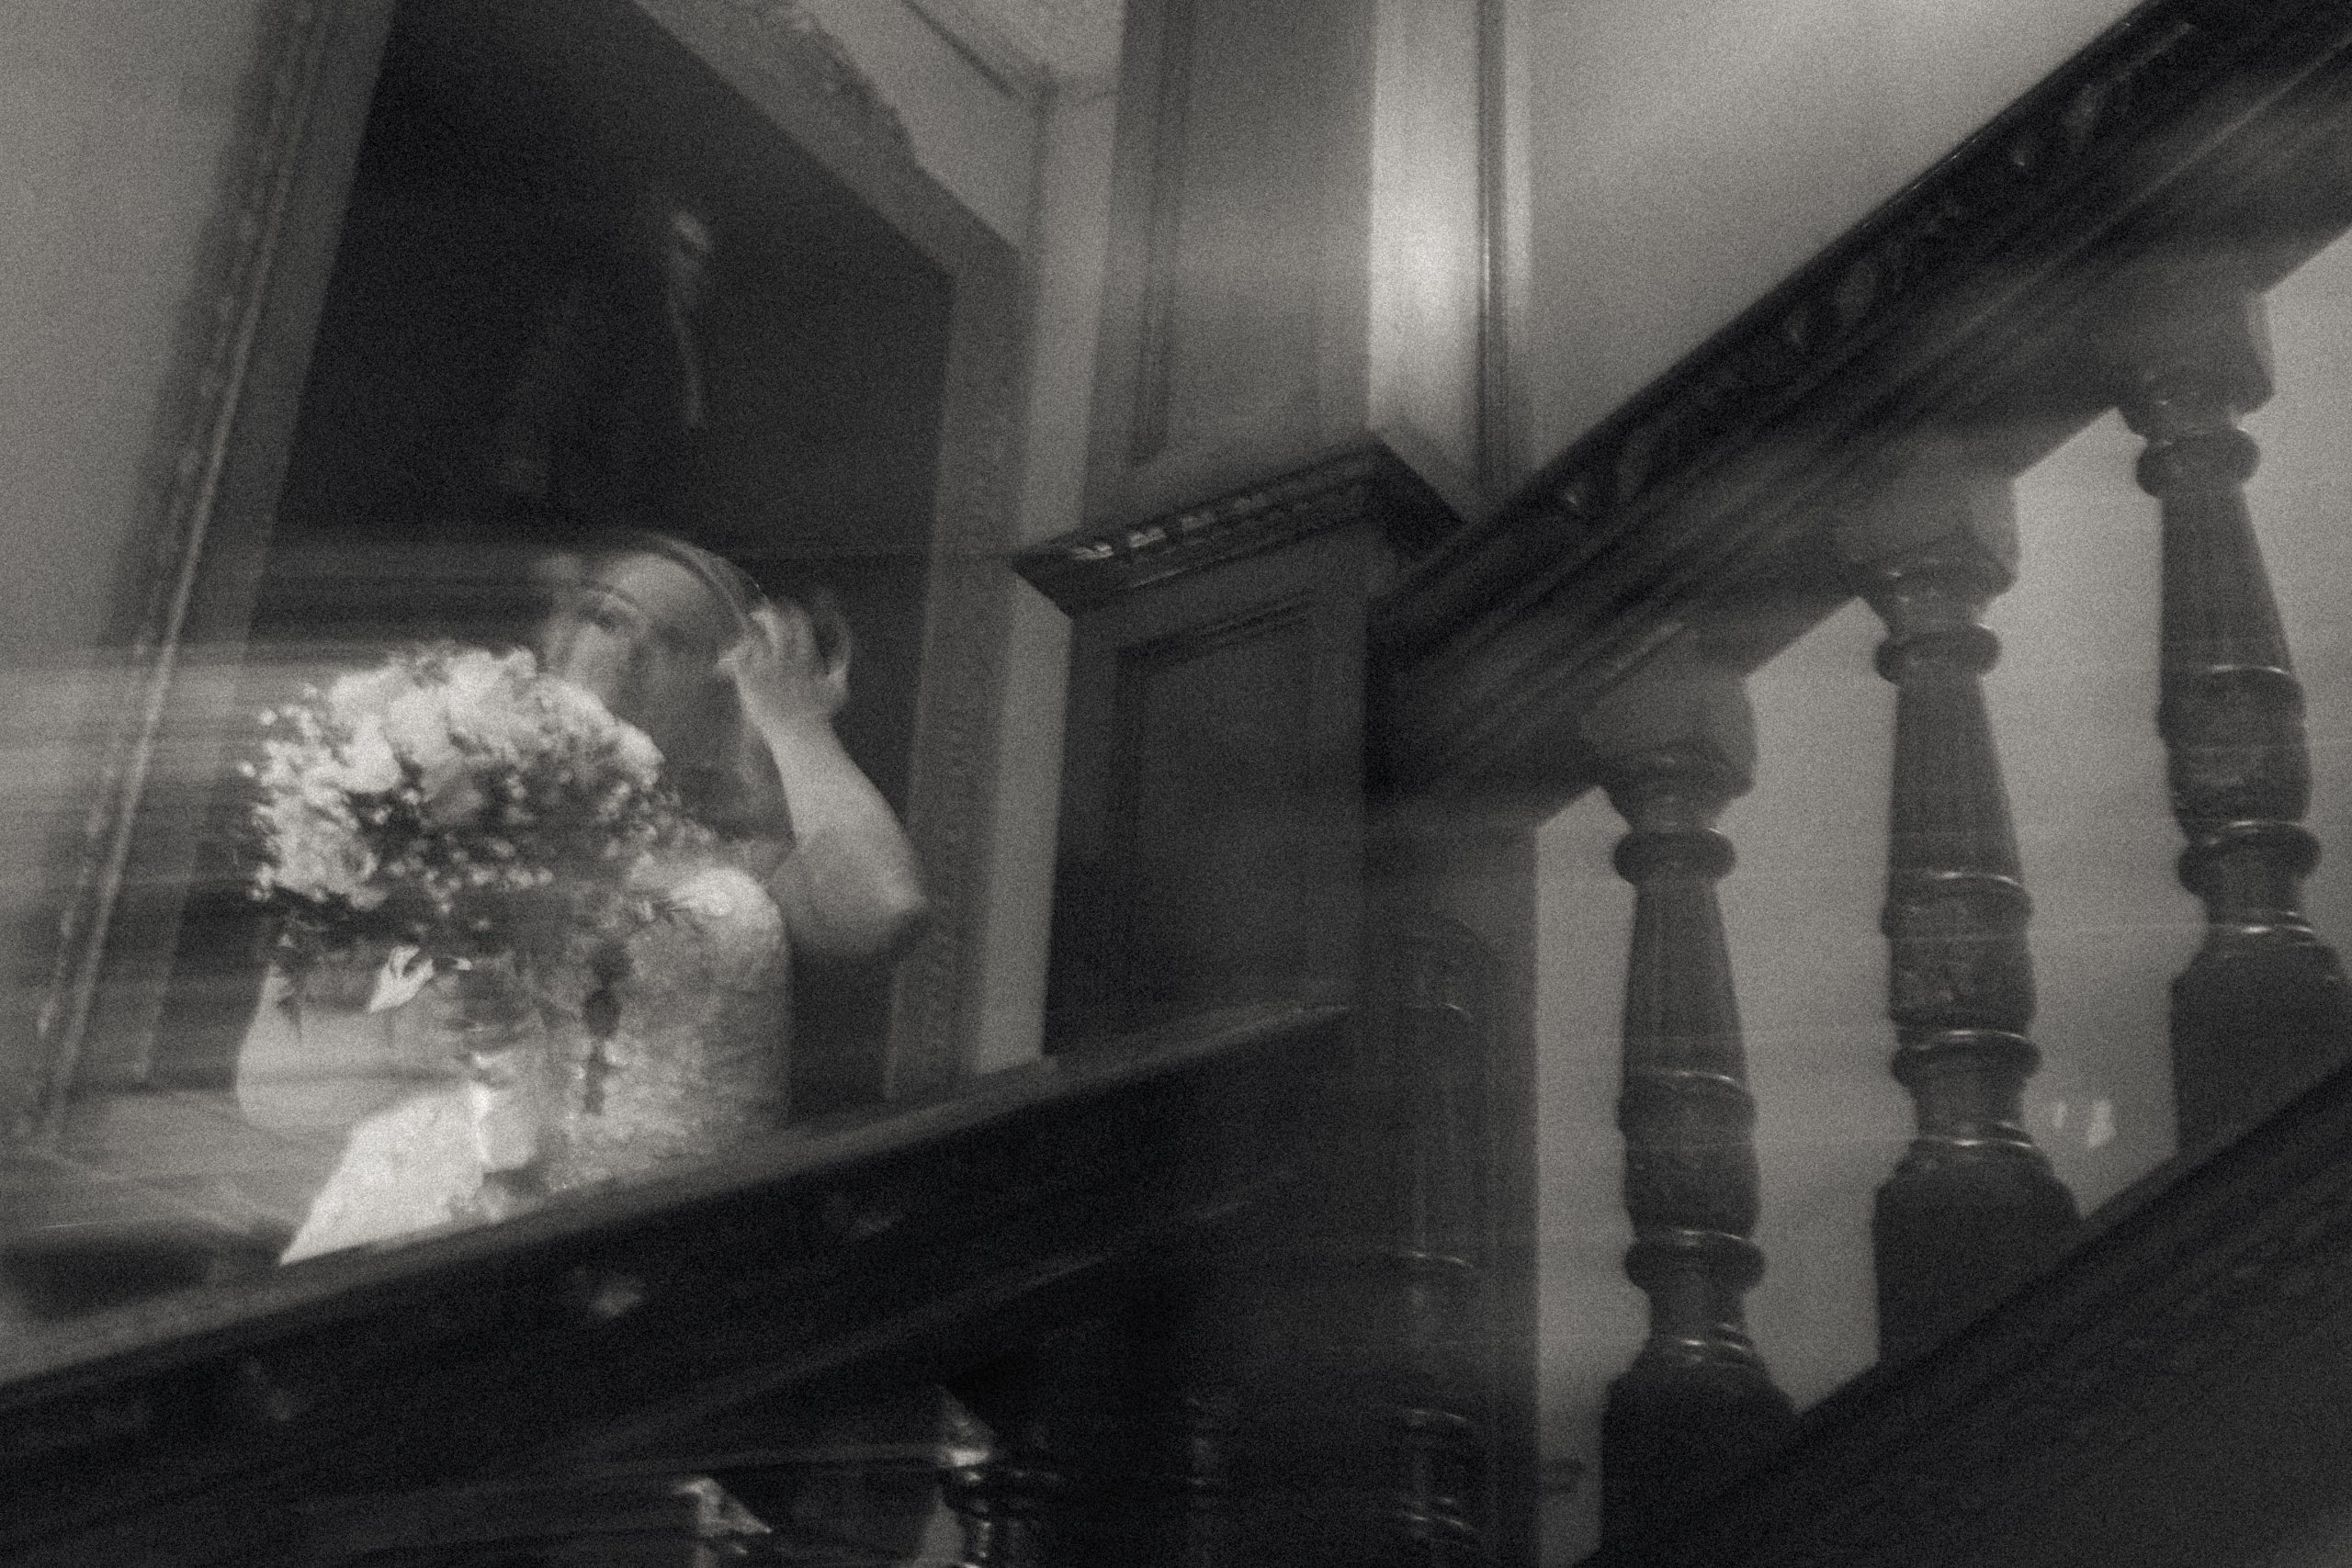
Technique 2: Capturing Pure Motion without Flash
For a different, often more serene effect, using a slow shutter speed without a flash allows you to transform moving elements into soft, ethereal forms. This technique is the secret behind silky smooth waterfalls, ghostly cloudscapes, and the iconic light trails of city traffic. Here, the entire scene is subject to the passage of time, contrasting sharp, static elements with the beautiful blur of motion.

The Foundation of Sharpness: Stability Techniques
To successfully contrast a sharp background with a blurred subject, your camera must remain perfectly still throughout the exposure.
- The Tripod Method (Highly Recommended): For the cleanest results, especially with exposures longer than a fraction of a second, a sturdy tripod is an invaluable tool. It eliminates camera shake entirely, guaranteeing that your stationary elements—buildings, landscapes, structures—are rendered with critical sharpness. This is essential for creating silky water effects and pristine light trails.
- The Handheld Method (The Photographer’s Stance): A tripod isn’t always practical. In its absence, you become the tripod. This method requires discipline and practice but can yield excellent, creatively blurred results at faster “slow” shutter speeds (e.g., 1/15s to 1/2s).
- Find Your Stance: Plant your feet firmly, shoulder-width apart. Tuck your elbows into your sides to create a stable “triangle” with your body.
- Control Your Breathing: Just like a marksman, your breath introduces movement. Take a deep breath, exhale slowly and smoothly, and gently squeeze the shutter button in the natural pause between breaths.
- Brace Yourself: Use your environment. Lean against a wall, a tree, or rest your camera on a ledge or railing. This external support dramatically increases stability.
- Engage Image Stabilization: If your camera or lens has built-in image stabilization (IS, OIS, VR, IBIS), ensure it is switched on. This technology is specifically designed to counteract the fine tremors of handheld shooting.
Essential Equipment
- A camera with manual or shutter-priority mode.
- Neutral Density (ND) Filters (Highly Recommended for Daylight): In bright conditions, an ND filter is often essential. It acts like sunglasses for your lens, reducing the amount of light and enabling you to use slow shutter speeds without overexposing the image.
Crafting the Shot: Recommended Settings
- Mode: Manual (M) for full control, or Shutter Priority (Tv or S) to focus on your motion effect.
- Shutter Speed: This is dictated by your subject’s speed and desired effect.
- Silky Water/Clouds: Aim for 1/2s to 5 seconds. This will often require a tripod.
- Light Trails: 10 to 30 seconds is a typical range, necessitating a tripod or a very solid surface.
- Creative Motion Blur (Handheld): Start around 1/15s and experiment. With good technique, you might push this to 1/4s or 1/2s.
- Aperture: A narrower aperture like f/11 to f/22 increases depth of field and limits light, aiding your slow shutter speed.
- ISO: try to use your camera’s base ISO (e.g., ISO 100) to maximize image quality, however if you have a Full Frame camera, you can push your ISO to 800.
- Use a Timer or Remote: When using a tripod, a 2-second timer or a remote shutter release prevents you from shaking the camera when you press the button.
By mastering these stability techniques, you are no longer limited by your gear. You gain the ability to interpret reality, conveying feeling, energy, and the beautiful, inexorable passage of time, whether anchored to the earth or using nothing but your own steady hand.
